
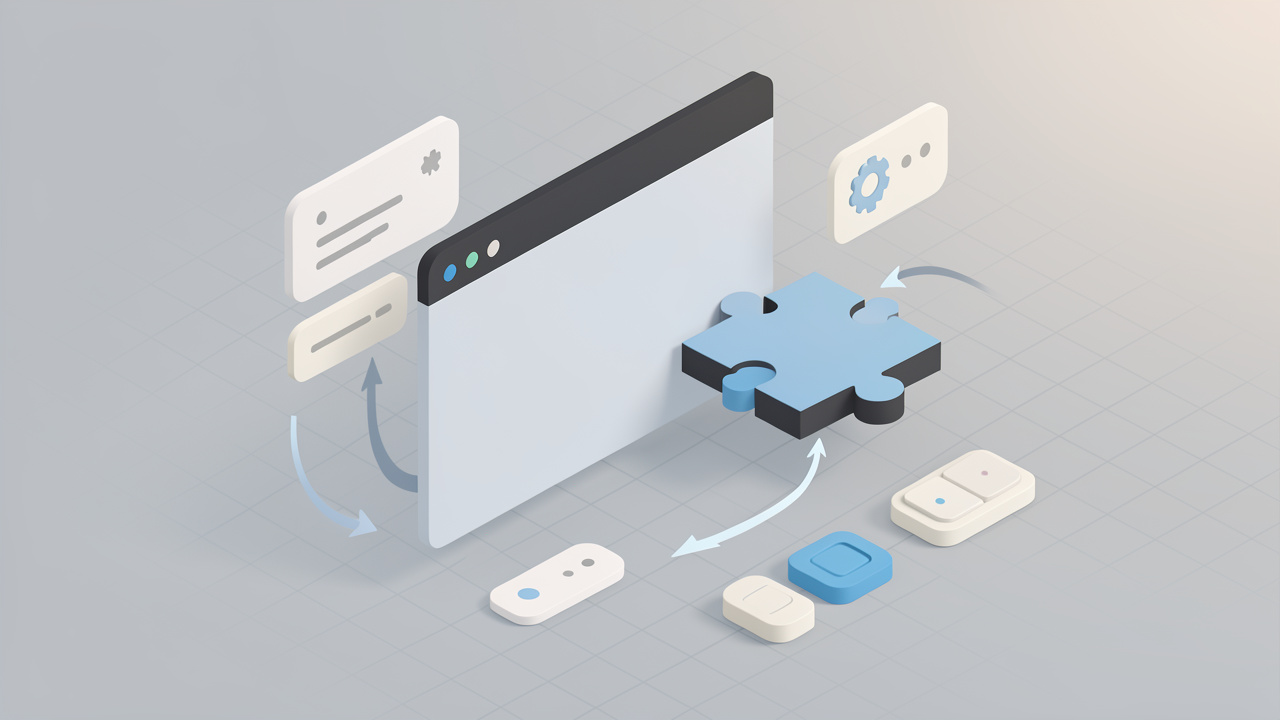
Building a Chrome extension is one of the fastest ways to turn a small idea into a real tool. If you have ever wished your browser could automate a repetitive task, clean up a cluttered page, save leads, summarize text, or improve your workflow, a browser extension can do exactly that.
The good news is that you do not need to build a full web app to create something useful. A simple extension can be lightweight, free to use, and surprisingly powerful. This guide walks you through a practical browser extension tutorial on how to build a Chrome extension, with a focus on clarity, modern Chrome extension standards, and real-world use cases.
What Is a Browser Extension and How Does a Chrome Extension Work?
A browser extension is a small software package that adds features to a web browser. In Chrome, extensions can modify web pages, add toolbar buttons, store settings, respond to browser events, and interact with APIs such as tabs, storage, notifications, and context menus.
Think of a Chrome extension as a helper that lives inside the browser. Unlike a normal website, it can react to what the user is doing across tabs and pages. Unlike a desktop app, it is lightweight and focused on browser-based tasks. That makes it ideal for freelancers, small business owners, and developers who want quick productivity wins without building a full product from scratch.
When people search for a browser extension tutorial to build a Chrome extension, they are usually trying to solve one of two problems. Either they want to learn the technical foundations, or they already have a simple idea and need a reliable starting point. This article covers both.
The Core Pieces of a Chrome Extension
Modern Chrome extensions are typically built around Manifest V3, which is Google’s current extension platform standard. At the center of every extension is a manifest.json file. This file tells Chrome what your extension is called, which permissions it needs, what files it loads, and what capabilities it uses.
Most Chrome extensions also include a few common parts. A service worker handles background logic and browser events. A popup creates the small interface users see when they click the extension icon. A content script can run on specific web pages and interact with the page’s content. There may also be icons, stylesheets, and optional settings pages.
These pieces work together, but they do not all need to exist in every project. A simple extension may only need a manifest and a popup. A more advanced one might include content scripts, messaging, and persistent settings.
The architecture of a Chrome extension becomes easier to understand when you think of each file as having a job. The popup handles direct user interaction. The service worker listens for browser events. Content scripts modify or read page content. Storage saves user data locally.
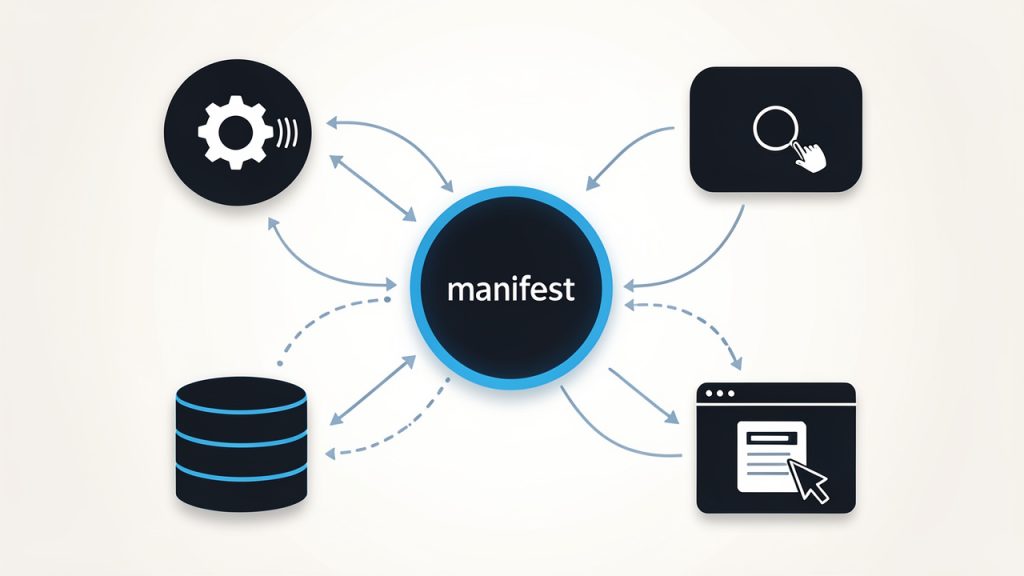
Most Chrome extensions also include a few common parts. A service worker handles background logic and browser events, a popup creates the small interface users see when they click the extension icon, a content script can run on specific web pages and interact with the page’s content, and storage saves user data locally.
Why Chrome Extensions Are So Popular
Chrome extensions are attractive because they sit close to the user’s daily workflow. If someone spends hours in Gmail, LinkedIn, Google Docs, Trello, or Shopify, a well-built extension can remove friction exactly where it matters.
For a small business owner, that might mean adding a quick note-taking tool for lead research. For a freelancer, it could be a page highlighter or invoice helper. For a developer, it might be a JSON formatter, accessibility checker, or debugging aid. Extensions are practical because they solve small but recurring problems, and those are often the most valuable problems to solve.
Key Aspects of Building a Chrome Extension
Creating an extension is not only about making it work. It is also about understanding permissions, security, architecture, and the user experience. Those details matter because a browser extension operates in a trusted environment.
Understanding Manifest V3
If you are learning how to build a Chrome extension today, start with Manifest V3, not older tutorials based on Manifest V2. Many outdated guides still appear in search results, and following them can create unnecessary confusion.
Manifest V3 changes how background processes work. Instead of a persistent background page, extensions now use a service worker, which is event-driven. This improves performance and security, but it also changes how you design your logic. You should think in terms of browser events and short-lived processes rather than always-running scripts.
Here is a minimal manifest.json for a simple popup-based extension:
{
  "manifest_version": 3,
  "name": "Simple Productivity Extension",
  "version": "1.0.0",
  "description": "A basic Chrome extension example.",
  "action": {
    "default_popup": "popup.html",
    "default_title": "Open Extension"
  },
  "permissions": ["storage"],
  "icons": {
    "16": "icons/icon16.png",
    "48": "icons/icon48.png",
    "128": "icons/icon128.png"
  }
}
This example defines the extension name, version, popup, storage permission, and icon files. It is small, but it is fully valid and enough to load an extension into Chrome.
The Most Important Extension Components
The architecture of a Chrome extension becomes easier to understand when you think of each file as having a job. The popup handles direct user interaction. The service worker listens for browser events. Content scripts modify or read page content. Storage saves user data locally.
The table below shows the main components and what they do.
| Component | Purpose | Typical Use Case |
|---|---|---|
manifest.json |
Declares extension settings, permissions, and entry points | Every extension needs it |
popup.html |
Creates the extension’s visible mini interface | Buttons, forms, quick actions |
popup.js |
Adds behavior to the popup | Save settings, trigger actions |
service-worker.js |
Runs background logic on events | Context menus, tab updates, alarms |
content.js |
Interacts with the current web page | Read text, inject UI, modify DOM |
chrome.storage |
Stores user preferences or data | Notes, toggles, saved options |
This separation is helpful because it keeps your extension maintainable. If your popup starts doing page manipulation directly, or your content script starts storing business logic that belongs elsewhere, the extension becomes harder to debug and scale.
Permissions and Trust Matter
One of the biggest mistakes beginners make is requesting too many permissions. Chrome users are increasingly cautious, and they should be. If an extension asks for broad access without a clear reason, users may abandon it immediately.
A good rule is simple. Ask only for what you need, and understand exactly why you need it. If you want to save a few user preferences, storage may be enough. If you want to inspect the current tab, you may need activeTab. If you want to run scripts on certain websites, define those host permissions carefully.
This is not just a technical issue. It is a product trust issue. A useful extension with minimal permissions feels safer, lighter, and more professional.
User Experience Is Part of the Build
A Chrome extension can be technically correct and still fail if the user experience feels awkward. Extensions live in a tiny interface space, so every click matters. The best ones feel immediate. They do one thing well, explain themselves clearly, and avoid clutter.
That matters even more for productivity-minded users. If your extension saves only three seconds but requires six clicks, it is not helping. Good extension design often means narrowing the scope. Build one useful workflow first. Then expand only if real usage justifies it.
How to Get Started with Building a Chrome Extension
The easiest way to learn is to create a small working project. A perfect first extension is one that opens a popup, accepts text input, and saves it using Chrome storage. That teaches the foundation without forcing you into advanced APIs too early.
A Simple Project Structure
Start with a folder like this:
my-chrome-extension/
  manifest.json
  popup.html
  popup.js
  icons/
    icon16.png
    icon48.png
    icon128.png
This is enough for a functioning extension. You can always add a service worker or content script later.
Build the Popup Interface
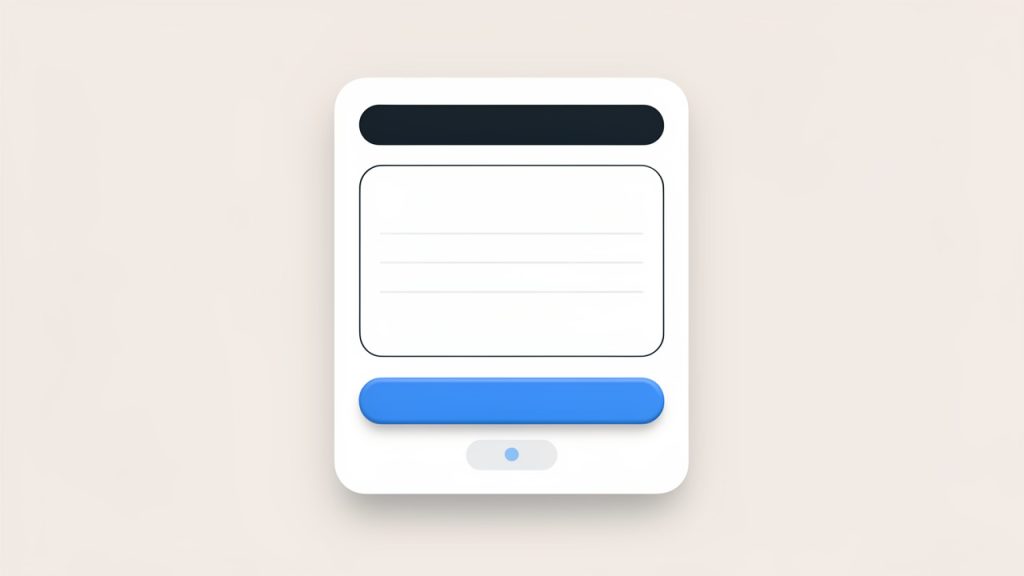
The popup is the visible face of your extension. Here is a simple popup.html that lets a user save a short note:
<!DOCTYPE html>
<html lang="en">
<head>
  <meta charset="UTF-8" />
  <meta name="viewport" content="width=device-width, initial-scale=1.0" />
  <title>Quick Note</title>
  <style>
    body {
      font-family: Arial, sans-serif;
      width: 280px;
      padding: 12px;
    }
    textarea {
      width: 100%;
      height: 100px;
      margin-bottom: 10px;
    }
    button {
      width: 100%;
      padding: 8px;
      cursor: pointer;
    }
    #status {
      margin-top: 8px;
      font-size: 13px;
      color: green;
    }
  </style>
</head>
<body>
  <h3>Quick Note</h3>
  <textarea id="note" placeholder="Write something..."></textarea>
  <button id="saveBtn">Save Note</button>
  <div id="status"></div>

  <script src="popup.js"></script>
</body>
</html>
This interface is intentionally small. It includes a text area, a save button, and a status message. That is enough to demonstrate real functionality.
Add the Popup Logic
Now connect the interface to Chrome storage with popup.js:
document.addEventListener("DOMContentLoaded", () => {
  const noteField = document.getElementById("note");
  const saveBtn = document.getElementById("saveBtn");
  const status = document.getElementById("status");

  chrome.storage.local.get(["savedNote"], (result) => {
    if (result.savedNote) {
      noteField.value = result.savedNote;
    }
  });

  saveBtn.addEventListener("click", () => {
    const note = noteField.value.trim();

    chrome.storage.local.set({ savedNote: note }, () => {
      status.textContent = "Note saved";
      setTimeout(() => {
        status.textContent = "";
      }, 1500);
    });
  });
});
This script loads an existing note when the popup opens and saves the new note when the button is clicked. It uses chrome.storage.local, which is one of the most practical APIs for beginner extension projects.
Load the Extension in Chrome
Once your files are ready, you can test the extension directly in Chrome. The process is short:
- Open Chrome Extensions by visiting
chrome://extensions/ - Enable Developer Mode using the toggle in the top-right area
- Click Load Unpacked and select your project folder
- Pin the extension to the toolbar if you want quick access
- Click the extension icon to open and test the popup
This local testing workflow is one of the best parts of Chrome extension development. You can make a change, reload the extension, and test again in seconds.
Expanding Beyond a Simple Popup
Once your first popup works, the next useful step is usually one of three directions. You might want the extension to interact with the current webpage, run background logic, or save more structured data.
If you want to work with the current page, add a content script. For example, you could extract selected text, summarize page headings, or inject a helper panel. If you want browser-level automation, add a service worker. That is useful for reacting to tab updates, creating context menu items, or scheduling actions with alarms. If you want a more polished product, add an options page so users can configure settings outside the popup.
Here is a basic content script example that highlights the page background:
document.body.style.outline = "4px solid #4CAF50";
To run that on selected pages, you would update the manifest:
{
  "manifest_version": 3,
  "name": "Simple Productivity Extension",
  "version": "1.0.0",
  "description": "A basic Chrome extension example.",
  "action": {
    "default_popup": "popup.html"
  },
  "permissions": ["storage"],
  "content_scripts": [
    {
      "matches": ["https://*/*", "http://*/*"],
      "js": ["content.js"]
    }
  ]
}
This introduces an important concept. Extensions can run code inside webpages, but only when the manifest explicitly allows it. That permission model protects users and keeps extension behavior transparent.
Common Beginner Mistakes to Avoid
Many first-time developers assume an extension is just a mini website. It is not. It uses web technologies, but it runs in a special environment with its own APIs, lifecycle rules, and security boundaries.
Another common issue is mixing responsibilities between files. If something affects page content, it usually belongs in a content script. If it affects browser events or background logic, it usually belongs in the service worker. If it affects user input and display, it belongs in the popup or options page. Keeping those boundaries clear makes your extension easier to reason about.
Versioning is another overlooked detail. Even for personal-use tools, update the version number carefully and keep your changes organized. If you later publish to the Chrome Web Store, that discipline will save time.
When to Publish to the Chrome Web Store
You do not need to publish your extension to benefit from it. Many of the most valuable extensions are private tools used by an individual freelancer, team, or business. If your goal is internal productivity, loading the extension locally may be enough.
If you do want to share it more broadly, publishing through the Chrome Web Store gives you discoverability and easier installation. Before publishing, check your permissions, add clean icons, write a clear description, and test on multiple pages and user flows. Chrome reviews extensions more carefully now, especially those requesting powerful permissions.
Choosing the Right First Extension Idea
If you are unsure what to build, start with a workflow you already repeat every day. Good beginner extension ideas often come from friction, not from grand ambition.
A solid first extension might save snippets, format text, capture page metadata, store bookmarks with notes, or pull selected text into a reusable clipboard tool. These are small enough to finish, yet useful enough to prove the value of extension development.
The best first project is not the most impressive one. It is the one you can complete, test, and actually use.
Key Tools and Skills That Help
You do not need a large tech stack to build a Chrome extension. In most cases, HTML, CSS, JavaScript, and Chrome’s extension APIs are enough. If you already know basic frontend development, the learning curve is manageable.
For more advanced projects, it helps to understand asynchronous JavaScript, DOM manipulation, browser security rules, and message passing between scripts. If your extension grows, you may eventually add a build tool such as Vite or Webpack, or use a framework like React for the popup UI. Still, those are optional. A lot of excellent extensions are built with plain JavaScript.
The most important skill is not memorizing APIs. It is learning how to break the problem into pieces. Decide what should happen in the popup, what belongs on the page, what should be saved, and what permissions are truly necessary.
Conclusion
A strong browser extension tutorial that teaches how to build a Chrome extension should leave you with more than theory. It should give you a working mental model and a practical first build. The core idea is simple, define your extension in the manifest, create a small interface, connect it to browser APIs, and expand only when needed.
Your next step is to build one tiny extension that solves one real annoyance in your day. Keep it focused, permission-light, and usable. Once that works, you will understand the Chrome extension model far better than by reading ten more tutorials.