
JNTZN

Tag: Scanning

  • How to Convert TIFF Files to PNG Quickly and Safely

    How to Convert TIFF Files to PNG Quickly and Safely

    TIFF files can be a headache at exactly the wrong moment. You receive a scanned document, product photo, design asset, or archive image in TIFF format, and suddenly it will not preview properly, upload cleanly, or open in the app you actually use every day. That is usually when people start looking for a simple way to convert a TIFF to PNG.

    The good news is that this conversion is usually straightforward, and in many cases it is the right move. PNG files are widely supported, easy to share, and ideal when you need crisp image quality without the compatibility problems that often come with TIFF. If you are a small business owner managing product images, a freelancer sending client assets, or a developer preparing files for the web, understanding when and how to convert TIFF images to PNG can save time and prevent frustrating workflow issues.

    What Is a TIFF to PNG Conversion?

    A TIFF to PNG conversion is the process of changing an image from the TIFF format into the PNG format. At a basic level, both are image file types, but they are designed for different use cases. TIFF, short for Tagged Image File Format, is often used in scanning, print, publishing, and archival workflows. PNG, or Portable Network Graphics, is more common on websites, in apps, and in everyday digital sharing.
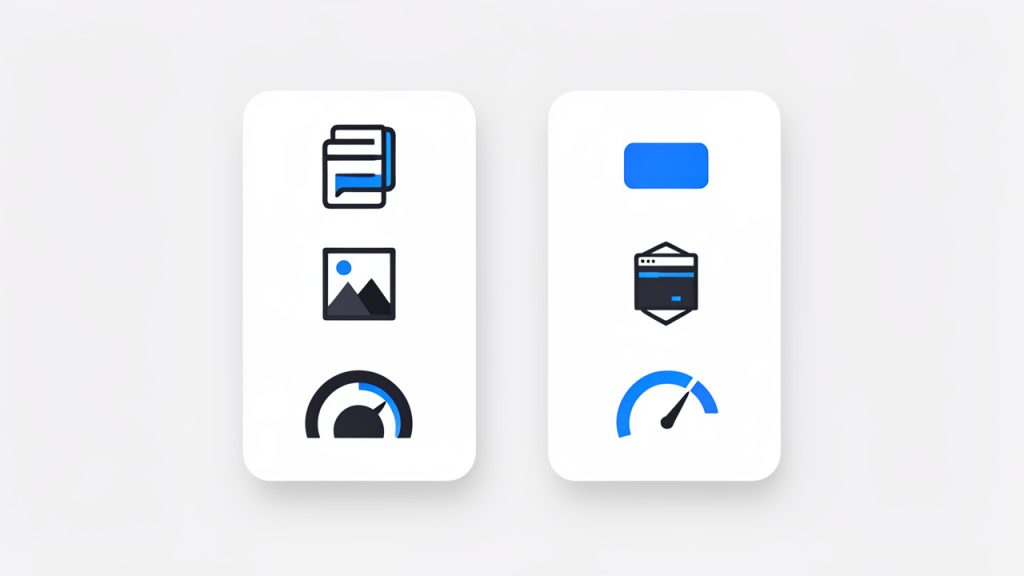
    Side-by-side infographic comparing TIFF and PNG: two stacked cards or panels. Left panel labeled “TIFF” with icons for a multi-page document, a high-resolution photograph, a shield/archival box (to indicate preservation), and a large file-size meter. Right panel labeled “PNG” with icons for a web browser, a transparent checkerboard behind a logo, a small/medium file-size meter, and a generic device (phone/laptop) for wide compatibility. Include short captions under each icon: “archival/print”, “multi-page”, “lossless/high fidelity” for TIFF and “web/sharing”, “transparency”, “lossless/web-friendly” for PNG."

    TIFF is known for preserving a high level of image detail. It can support lossless quality, multiple pages, rich metadata, and professional color information. That makes it valuable for industries that care deeply about image fidelity, such as graphic design, document digitization, photography, and print production. The downside is that TIFF files can be large, slower to transfer, and not always friendly with basic software or browser-based tools.

    PNG solves a different problem. It also supports lossless compression, which means image quality is not thrown away the way it often is with JPEG. But PNG is generally easier to open, easier to display online, and better suited for transparent backgrounds and everyday digital use. When people search for ways to convert TIFF images to PNG, they usually want to make a file more usable, more portable, or more compatible with modern tools.

    That distinction matters. Converting a TIFF image to PNG is not just about changing a file extension. It is about matching the file format to the task. A scanned invoice that needs to be uploaded to a client portal has different requirements than a master archival scan stored for long-term preservation. The best conversion choice depends on how the image will be used next.

    Key Aspects of Converting TIFF Images to PNG

    Compatibility Is Often the Main Reason

    The biggest reason people convert TIFF files into PNG images is compatibility. TIFF remains common in professional workflows, but many everyday platforms treat it like a niche format. Some website builders reject TIFF uploads. Some messaging apps strip support. Some lightweight image viewers open TIFF files slowly or not at all.

    PNG is far more universal. It works well across browsers, operating systems, content management systems, design tools, and office software. If your goal is to send an image to a client, upload it to a website, or include it in a digital document, PNG is often the safer choice.

    This is especially relevant for small teams and independent professionals. If you want fewer support requests, fewer failed uploads, and fewer moments of “why won’t this open,” converting from TIFF to PNG is often a practical fix.

    Image Quality Can Stay High

    One common concern is whether converting a TIFF to PNG will damage the image. In many situations, the answer is no significant quality loss, especially when the original TIFF is a standard raster image and the conversion is handled correctly. PNG uses lossless compression, so it preserves visual data effectively.

    That said, the details matter. TIFF can contain features that PNG does not fully replicate, such as multiple pages, certain color profiles, deep bit depth in some workflows, or advanced metadata. If your TIFF is a simple scanned page or flat graphic, PNG is usually an excellent output format. If it is a layered, color-critical, or archive-sensitive asset, you should review what information needs to be retained before converting.

    Think of it this way. PNG is a great delivery format for many digital tasks, but TIFF is often the better master format when maximum preservation is the priority. One is optimized for use, the other is often optimized for retention.

    File Size May Improve, but Not Always Dramatically

    Many users expect a PNG file to always be much smaller than a TIFF file. Sometimes it is. Sometimes it is not. The final size depends on the image content, compression settings, color depth, and whether the TIFF was already compressed efficiently.

    For scanned documents, interface graphics, screenshots, and illustrations with sharp edges or large areas of solid color, PNG can be quite efficient. For very large photographic images or high-resolution print assets, the size reduction may be modest. In some cases, the PNG may even remain fairly large because it is still preserving quality without loss.

    Here is a simple comparison of the two formats:

    Format Best For Compression Type Transparency Common Use Cases Compatibility
    TIFF Archiving, scanning, print workflows Usually lossless, flexible Limited, depends on workflow High-resolution scans, print masters, professional imaging Moderate
    PNG Web, sharing, digital graphics Lossless Yes Website images, screenshots, logos, transparent graphics High

    The key takeaway is that format choice is not only about size. It is about the balance between quality, portability, and purpose.

    Transparency and Presentation Matter

    PNG has a major advantage when transparency is important. If you are preparing logos, icons, product cutouts, overlays, or visual assets for web pages and presentations, PNG is often the more flexible format. It handles transparent backgrounds well and is broadly supported in design and office tools.

    TIFF can support transparency in some workflows, but it is not as universally convenient for everyday digital use. If your team needs quick visual assets that drop neatly into a slide deck, product listing, or landing page, PNG is usually the format people expect.

    For e-commerce sellers, marketing freelancers, and agency teams, this is more than a technical footnote. Transparent PNG files make it easier to maintain a clean and professional visual presentation across platforms.

    Multi-Page TIFF Files Need Extra Attention

    One of the most overlooked issues in a TIFF to PNG workflow is the multi-page TIFF. TIFF files can store multiple pages in a single file, which is why they are common in scanned contracts, forms, receipts, and document archives. PNG does not work that way. A PNG file is typically a single image.

    That means a multi-page TIFF usually needs to be split into separate PNG files, one for each page. If you are converting business records or scanned paperwork, make sure the tool you use handles this correctly. Otherwise, you may end up converting only the first page and missing the rest.

    This becomes especially important in administrative and legal workflows. A quick conversion can turn into a data problem if pages are silently dropped. Always check the output when the source TIFF contains more than one page.
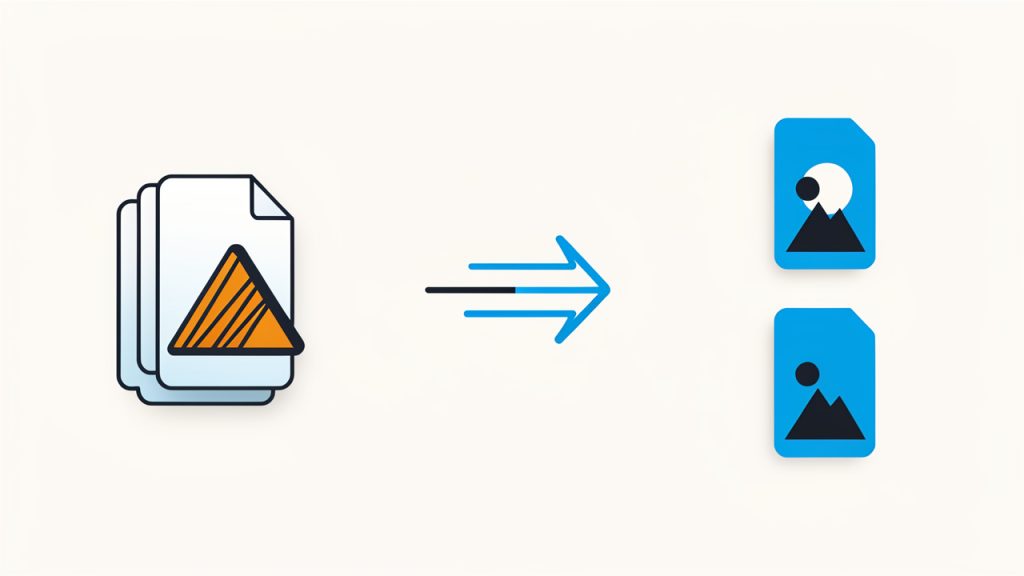
    Diagram showing a multi-page TIFF (a single file icon composed of several stacked page thumbnails) being split into multiple separate PNG files (several individual image icons labeled page1.png, page2.png, page3.png). Add a warning symbol and caption: “Check multi-page TIFFs — PNGs are single-image files.”

    ⚠️ Check multi-page TIFFs, PNGs are single-image files.

    How to Get Started with TIFF to PNG

    Choose the Right Type of Tool

    If you only need to convert a few files, an online converter is often the easiest option. It is fast, requires no installation, and works well for standard image files. This is ideal for freelancers, small business teams, and anyone who wants a quick answer without adding software to their device.

    If you handle sensitive documents, bulk image libraries, or large production assets, desktop software may be the better choice. It usually offers stronger control over output settings, file handling, and privacy. Developers and operations teams may also prefer command-line or automated workflows when conversion is part of a larger process.

    Your best option depends on volume, sensitivity, and repeatability. A one-time conversion and a daily workflow are not the same problem.

    Check These Before You Convert

    Before converting a TIFF image into PNG, it helps to verify a few basics. Check the page count so you know whether the TIFF contains one page or several. Confirm whether the final image should keep or create a transparent background. Decide whether the PNG will be used for web, print preview, or detailed review so you can choose an appropriate resolution. Finally, check whether any embedded metadata needs to be preserved separately.

    These small checks prevent bigger headaches later. They are especially useful when the image will be reused in client work, uploaded to a platform, or included in a business process.

    Follow a Simple Conversion Workflow

    A clean TIFF to PNG process is usually uncomplicated. First, upload or open the TIFF file in your chosen tool. Next, select PNG as the output format and review available settings. Convert the file and wait for processing to finish. Finally, inspect the result for page completeness, clarity, transparency, and size.

    That final review is more important than many people realize. A conversion can technically succeed while still producing the wrong result for your needs. The image may look softer than expected, the background may flatten incorrectly, or only one page may export from a multi-page source.

    A thirty-second visual check often saves a round of rework later.

    Think About Your End Use First

    The smartest way to approach TIFF to PNG conversion is to start with the destination, not the source. Ask where the image is going next. Is it being uploaded to a website? Shared with a client? Added to a document management system? Used in an app interface? Included in a product listing?

    Once you know the next step, the format decision becomes easier. PNG is excellent for digital display, quick sharing, and transparent graphics. TIFF remains valuable when you need a high-fidelity original, archival storage, or a format suited to print and scanning systems.

    In practical terms, many professionals keep the original TIFF and create a PNG copy for active use. That approach gives you flexibility. You preserve the master file while making the image easy to work with day to day.

    Common Mistakes to Avoid

    A frequent mistake is assuming every TIFF behaves like a simple image. Some TIFF files are complex and may contain multiple pages, unusual compression, embedded profiles, or very large dimensions. If the conversion result looks odd, the issue may not be the PNG format itself, but how the source file was structured.

    Another mistake is using PNG when a lighter delivery format would be enough. If the image is a casual photo meant only for fast web viewing, PNG may be larger than necessary. In that case, another format might be more efficient. But when you need sharp edges, lossless quality, or transparency, PNG remains one of the best options.

    The final mistake is overwriting the source. If the TIFF matters, keep it. Converting for convenience should not erase your highest-quality original.

    Conclusion

    Converting a TIFF to PNG is often less about technology and more about workflow. TIFF is excellent for high-quality source files, scanned records, and archival use. PNG is ideal when you need broad compatibility, clean presentation, and reliable lossless quality for digital work.

    If you are dealing with a TIFF file right now, start by identifying how you need to use it next. Then choose a conversion method that matches that goal, check the output carefully, and keep the original when it matters. That simple approach will help you move faster, avoid file-format friction, and get more value from the images you already have.
  • How to Convert PNG to TIFF for Print and Archival Use

    How to Convert PNG to TIFF for Print and Archival Use

    If you have ever tried to upload a logo, scan, or product image and been told the file format is wrong, you already know how frustrating image conversion can be. A PNG file may look perfect on screen, but some print workflows, document archives, publishing systems, and design tools still prefer TIFF. That is where converting PNG to TIFF becomes useful.

    For small business owners, freelancers, developers, and anyone who wants quick results without wrestling with complex software, the goal is simple: preserve image quality, avoid compatibility problems, and finish the job fast. The good news is that a PNG-to-TIFF conversion is usually straightforward once you understand what each format does best and when the switch actually makes sense.

    What Is PNG to TIFF?

    Converting a PNG to a TIFF means taking an image stored in the Portable Network Graphics format and saving it as a Tagged Image File Format file. Both are image formats known for quality, but they were built with different use cases in mind.

    PNG is widely used for digital graphics, screenshots, web visuals, and images that need transparency. It is efficient, sharp, and supported almost everywhere online. TIFF, by contrast, is more common in professional printing, scanning, publishing, archiving, and workflows where detailed image data matters more than lightweight file size.

    The distinction becomes clearer when you think about where the image is going next. PNG is excellent for screens. TIFF is often preferred for print and production environments. If you are preparing scanned records, sending artwork to a print vendor, or working with software that favors archival-quality image files, converting from PNG to TIFF can solve a practical compatibility problem.

    That said, the conversion is not automatically an upgrade in every situation. TIFF files are often much larger, and if your original PNG was created for the web, changing formats alone will not magically add new detail. The value of the conversion lies in workflow fit, not just in the file extension.

    Key Aspects of PNG to TIFF

    Why people convert PNG files to TIFF

    The most common reason to convert a PNG image to TIFF is compatibility with professional systems. Print shops, prepress teams, document management platforms, and certain editing tools may request TIFF because it is a long-established format in commercial imaging.

    Another reason is file handling flexibility. TIFF supports several compression methods and can be used in workflows where image metadata, layered scanning processes, or archival requirements matter. For businesses storing scanned contracts, illustrations, or historical records, TIFF often feels more at home than PNG.

    There is also a trust factor in legacy environments. Some organizations standardize around TIFF because their equipment, scanners, and internal processes were built around it years ago. In those cases, converting PNG files to TIFF is less about theory and more about meeting an existing requirement cleanly.

    PNG vs TIFF at a glance

    Both formats can preserve high visual quality, but they behave differently in everyday use. PNG is usually better for fast-loading digital graphics. TIFF is usually better for professional imaging pipelines where editing, storage standards, or print preparation are involved.

    PNG vs TIFF at a glance

    Feature PNG TIFF
    Best use Web graphics, screenshots, transparent images Print, scanning, publishing, archival storage
    Compression Lossless Lossless or other compression options
    Transparency Strong support Limited or workflow-dependent
    File size Usually smaller Often larger
    Common audience Web designers, marketers, app users Printers, publishers, archivists, designers
    Compatibility Excellent for browsers and digital platforms Excellent for professional imaging tools

    This comparison helps explain why many users search for a way to convert PNG into TIFF. They are not necessarily chasing better-looking images. They are trying to make the file suitable for a specific system or output.

    Quality considerations that matter

    One of the biggest misconceptions is that converting a PNG file to TIFF will automatically improve image quality. It will not. A conversion can preserve quality, but it cannot invent detail that was never in the original file.

    If your PNG is already a low-resolution screenshot, saving it as TIFF only gives you a larger file containing the same underlying image quality. On the other hand, if your PNG contains crisp artwork, scans, diagrams, or high-resolution design elements, converting to TIFF can help preserve that content in a format that works better for production or archiving.

    Resolution, color mode, and compression settings matter too. If you are preparing files for print, it is worth checking whether the output needs a certain DPI, color profile, or compression style. This is where many quick conversions succeed technically but fail practically. The file opens, but it is not optimized for the actual job.

    File size and storage trade-offs

    TIFF files are often significantly larger than PNG files. That can be a good thing in controlled professional workflows, but it can become a burden if you are handling lots of assets, storing files in shared drives, or emailing attachments back and forth.

    For a freelancer delivering print-ready artwork, larger TIFF files may be totally acceptable. For a small business owner trying to manage hundreds of product images in cloud storage, the extra weight can create friction. Storage costs, upload times, and sharing speed all start to matter.

    The practical lesson is simple: convert only when the format change serves a clear purpose. If your image is staying online, PNG may remain the better option. If it is heading into print, scanning, publishing, or archival storage, TIFF may be the right move despite the larger file size.

    How to Get Started with PNG to TIFF

    Decide whether TIFF is actually necessary

    Before converting anything, ask where the file will be used. This single question saves time. If the image is for a website, digital ad, presentation, app interface, or social post, PNG is often already ideal.

    If the file is headed to a print vendor, book layout, document archive, or specialized graphics workflow, TIFF may be required or recommended. In that case, conversion makes sense. Knowing the destination keeps you from creating oversized files you do not need.

    This is especially important for productivity-minded users who rely on simple online tools. The fastest workflow is not just about conversion speed. It is about avoiding unnecessary steps in the first place.

    Use a reliable conversion method

    There are several ways to convert a PNG image into TIFF. Many users choose an online converter because it is quick, free, and requires no installation. Others prefer desktop software for privacy, batch processing, or more control over output settings.

    A good conversion tool should preserve image clarity, retain the correct dimensions, and make it easy to download the output without confusion. If you are working with sensitive documents, privacy policies matter. If you are handling a high volume of files, batch conversion becomes more important than interface polish.

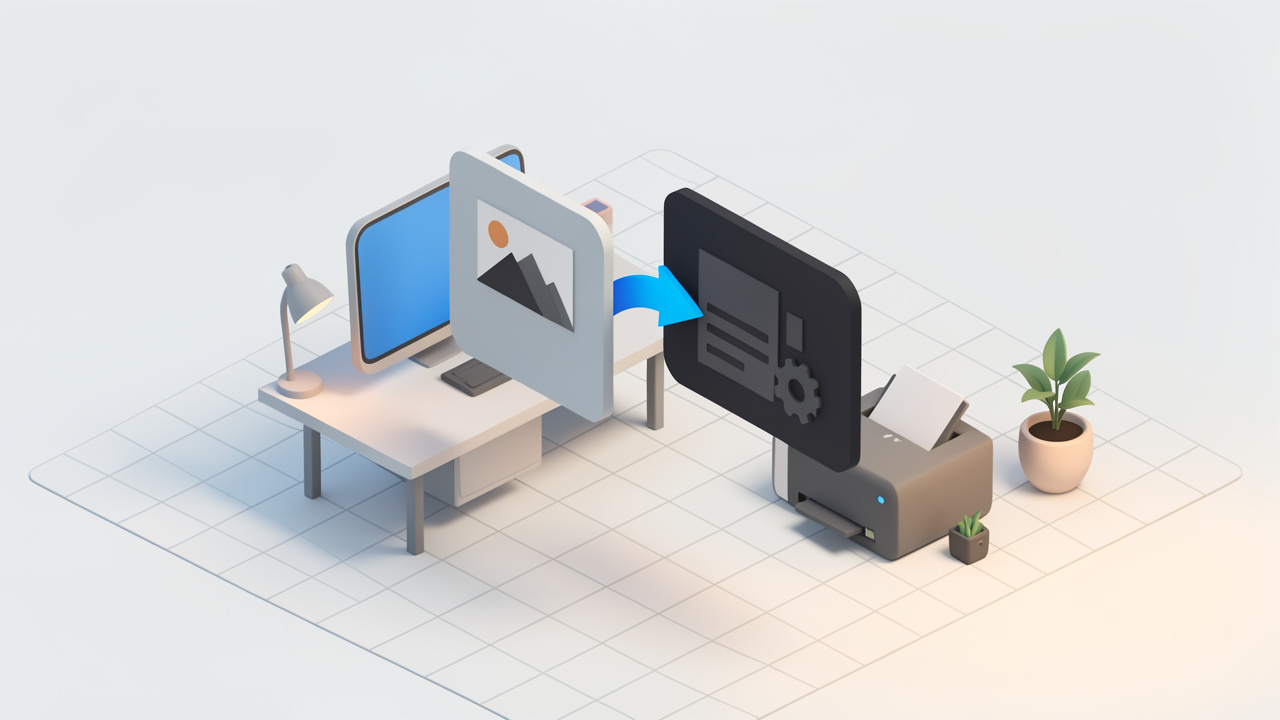
    Simple 4-step flowchart showing the typical conversion workflow

    For most casual and business users, the process usually looks like this:

    1. Upload the PNG file to the converter or open it in your image software.
    2. Choose TIFF as the output format and review any settings available.
    3. Export or convert the file and save the result.
    4. Check the output for quality, dimensions, and usability in the target system.

    That simple workflow covers most cases. The smart part is in the review step. Always open the final TIFF and confirm it behaves the way you expect before sending it to a client, printer, or archive.

    Pay attention to resolution and color

    If the output is going to print, image resolution deserves a closer look. A file that appears sharp on a laptop screen can still print poorly if the source dimensions are too small. TIFF supports professional workflows well, but it cannot compensate for a weak original image.

    Color handling matters too. Some design and print environments expect consistent color profiles. If your conversion tool offers color options, do not ignore them blindly. A simple format switch can become a production issue if colors shift or if the receiving system expects a specific profile.

    For logos, illustrations, and product imagery, it is a good idea to test one sample conversion first. That gives you a chance to inspect detail, color, and file behavior before processing an entire batch.

    Know when batch conversion helps

    If you are converting one or two files, almost any decent tool will do. But if you manage catalogs, scanned paperwork, design assets, or client deliverables, batch conversion can save real time.

    A freelance designer preparing assets for a printer may need to convert dozens of PNG exports into TIFF. A small business digitizing records may need to standardize hundreds of scanned images. In these cases, efficiency matters as much as quality.

    Look for a solution that handles multiple files consistently and keeps filenames organized. The less manual cleanup required afterward, the more productive the workflow becomes. This is where simple tools often outperform bloated software, especially for users who value speed over advanced editing features.

    Common mistakes to avoid

    Many format problems come from assumptions, not technology. People often believe TIFF is always better, larger always means higher quality, or conversion alone will make a web image print-ready. Those assumptions create disappointing results.

    Another common issue is skipping the final check. A converted file may technically be a TIFF but still have the wrong orientation, weak resolution, or unexpected color changes. The safest approach is to treat conversion as one part of the workflow, not the final answer.

    If you work with client files, it also helps to confirm exact format requirements before converting. Some clients ask for TIFF when they actually mean a “high-quality image.” Others may need very specific settings. A quick clarification can prevent rework.

    Conclusion

    Converting PNG files to TIFF is less about changing one file extension to another and more about choosing the right format for the job. PNG remains excellent for digital use, while TIFF is often better suited to print, scanning, publishing, and archival workflows. The best choice depends on where the image is headed and what the receiving system expects.

    If you need to convert a PNG file into TIFF, start with the end use, choose a reliable tool, and review the output carefully. That small amount of attention can save time, avoid compatibility headaches, and help you keep image quality intact. The next step is simple: test one file first, verify the result, and then scale up if the workflow fits your needs.