AVIF is excellent until it breaks your workflow.
If you have an image that looks perfect in a modern browser but refuses to upload to a CMS, open in older software, or cooperate with a client’s print process, converting it to JPG is usually the fastest fix. That is why so many people search for ways to convert AVIF to JPG quickly, without wrecking image quality or losing important metadata.
The good news is that there is no single “best” method for everyone. A freelancer handling a few website images needs something different from a developer processing thousands of files in a pipeline. This guide covers both. You will learn when converting makes sense, when it does not, how to preserve quality, and which tools are worth using for online, desktop, command-line, and developer workflows.
Why Convert AVIF to JPG?
What is AVIF and how does it differ from JPG?
AVIF stands for AV1 Image File Format. It is a newer image format built around AV1 compression technology, and it is known for delivering high visual quality at smaller file sizes than traditional JPEG in many cases. That makes it attractive for websites, performance-focused apps, and modern image delivery systems.
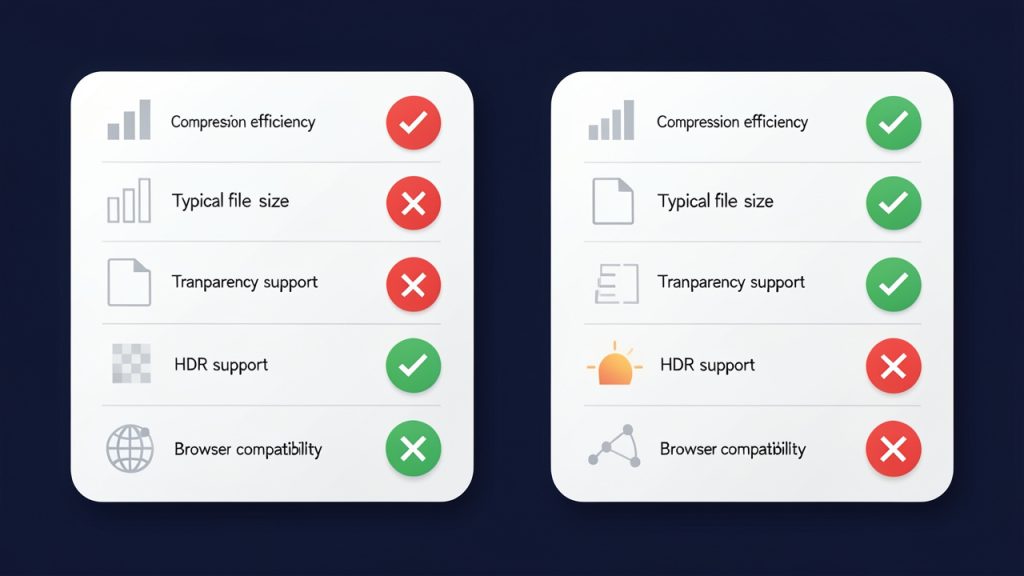
JPG, or JPEG, is much older but far more universal. Nearly every browser, device, CMS, printer workflow, office app, and image editor supports it. AVIF often wins on compression efficiency, while JPG wins on compatibility. In practice, that is the trade-off most people are really dealing with.
Common reasons to convert AVIF files to JPG
The most common reason to convert is simple: something in your workflow does not support AVIF well enough. That could be an older design tool, a no-code website builder, a content management system with strict upload rules, or a marketplace platform that accepts only JPG and PNG.
There are also collaboration reasons. If you send an AVIF file to a client or colleague, there is a decent chance they will ask for a JPG instead because they want something they can preview instantly on any device. Print shops, email attachments, documentation systems, and internal admin tools also tend to be friendlier to JPEG.
Quick note on quality, file size, and compatibility trade-offs
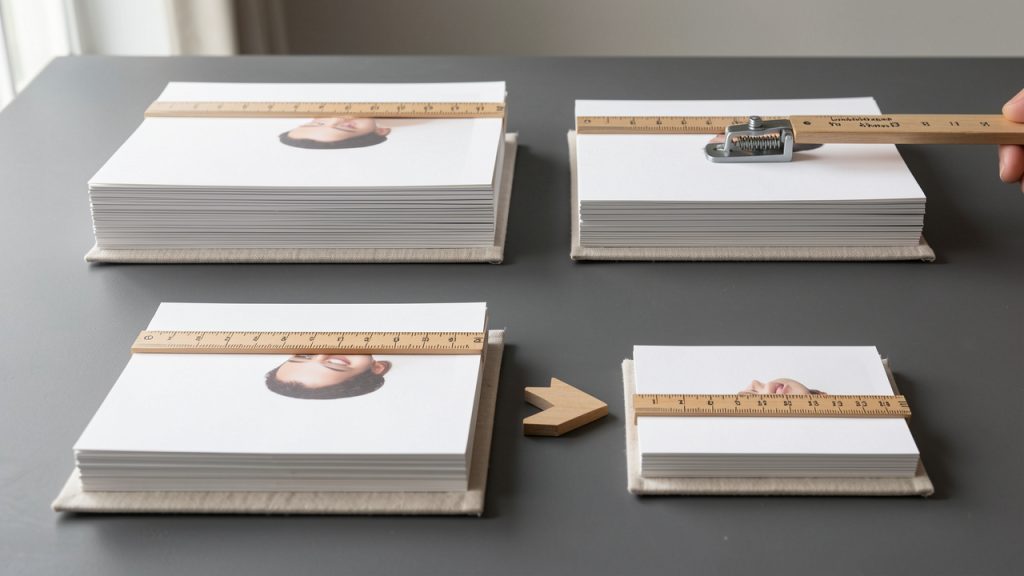
Converting from AVIF to JPG is not a neutral move. You are usually trading some compression efficiency, and sometimes some quality, for much broader support. In many cases, the resulting JPG file will be larger than the original AVIF, especially if you export at high quality settings.
That does not mean conversion is a mistake. It just means you should do it intentionally. If compatibility is the goal, JPG is often the right destination. If you want to preserve the best original for long-term storage or web delivery, keep the AVIF too.
When You Shouldn’t Convert: Keep AVIF If…
There are situations where converting an AVIF file to JPG is unnecessary, or even counterproductive. If your site, app, or target audience already uses modern browsers and systems that support AVIF, keeping the file as AVIF can give you smaller payloads and better performance.
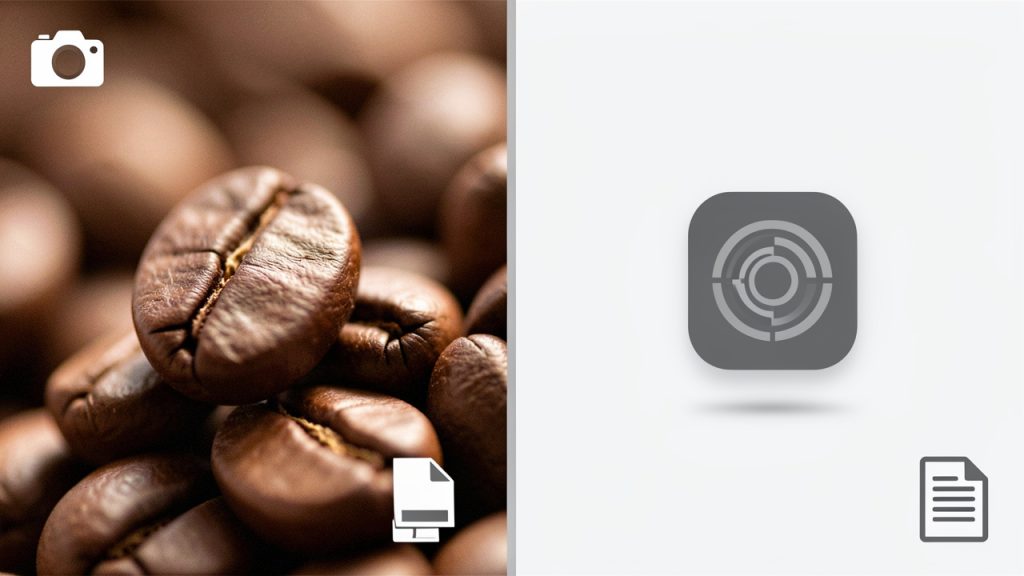
This matters most for web delivery. If page speed is a priority, AVIF can reduce image weight without the obvious visual damage that aggressive JPEG compression can introduce. For hero images, product photography, and image-heavy landing pages, that can translate into faster load times and better Core Web Vitals.
You should also avoid repeated format changes, because AVIF and JPG are both lossy compressed formats and multiple lossy conversions can compound visible damage. A better practice is to archive the original AVIF and create derivative JPG versions only when needed for a specific platform, upload, or client handoff.
Preparation: What to Check Before Converting
Before you convert anything, inspect the image itself. Not all conversion issues are about the format. Some come from missing metadata, embedded color profiles, or orientation flags that one app reads correctly and another ignores. A photo that looks fine in one viewer can appear rotated, washed out, or oddly saturated after export if these details are mishandled.
The safest approach is to check for EXIF metadata, ICC color profile, and orientation before you start. If the image came from a phone, camera, or editing workflow, there may be useful metadata you want to keep. If it contains location data or camera details you do not want to keep, conversion is also a chance to strip those intentionally.
Color profile handling matters more than many people realize. If you are creating JPGs for the web, sRGB is usually the safest target profile because it behaves predictably across browsers and common displays. If the AVIF uses a wider-gamut profile and your export tool mishandles it, the JPG may look dull or shifted.
Quality settings matter too. For general-purpose JPEG export, a quality range around 85 to 92 is a reliable starting point for preserving visible detail. For lightweight web images, you can often go lower, around 75 to 85, especially if the image will be displayed at smaller dimensions. Also decide whether you are converting one file or hundreds. Batch needs change the best tool choice immediately.
1. CloudConvert
CloudConvert is one of the easiest browser-based ways to convert AVIF images to JPG when you do not want to install anything. It works well for freelancers, marketers, and small business owners who need a quick result from a laptop or shared machine. You can drag in files from local storage or cloud services, pick JPG as the output, and fine-tune settings like quality or dimensions. It supports batch conversion, but its advanced metadata controls are limited and it is not ideal for sensitive images because uploads go through a third-party service.
CloudConvert is practical for occasional jobs and light usage.
Website: https://cloudconvert.com
2. Convertio
Convertio offers a polished, low-friction web interface for fast AVIF-to-JPG conversions. Upload the AVIF, select JPG, and download the result. It supports many file formats and works across devices without local software, which makes it convenient for simple website assets, blog images, or quick client deliverables. Like other online converters, be cautious with private files and check the output before publishing. File size limits and limited export controls can be constraints for larger or color-critical projects.
Convertio is useful for quick conversions when convenience matters more than granular control.
Website: https://convertio.co
3. Adobe Photoshop
Photoshop is the go-to if you need precise control over image appearance before exporting to JPG. Open the AVIF, verify color profile and orientation, and export as JPEG with options for sRGB conversion, metadata handling, selective sharpening, and compression preview. Photoshop is ideal for designers and photographers preparing client-facing assets or print-adjacent materials. It is paid software and AVIF support can depend on your version and system, but its editing and export controls make it far more reliable than quick online converters for professional work.
Photoshop is best when image inspection and tight quality control matter.
Website: https://www.adobe.com
4. GIMP
GIMP is a capable free desktop editor for local AVIF-to-JPG conversion when you want control without paying for Photoshop. If your GIMP build supports AVIF, you can open the file, check color and orientation, then export as JPEG with quality settings of your choice. The interface can feel less polished and plugin support varies, but GIMP provides a private, manual workflow suitable for freelancers and small businesses.
GIMP is a good no-cost option for manual edits and controlled exports.
Website: https://www.gimp.org
5. XnConvert
XnConvert excels at batch conversion with a graphical interface. Define a conversion once—set quality, resize rules, renaming, and destination—and apply it across large folders of AVIF images. This makes it ideal for ecommerce image prep, content migrations, or any repetitive production task where consistent JPEG outputs are needed. It is faster and more private than browser-based tools, though it does not replace a full retouching editor.
XnConvert is strong when you need repeated, consistent conversions across many files.
Website: https://www.xnview.com
6. IrfanView
IrfanView is a lightweight, fast Windows tool for viewing and converting images. With the right plugins, it can open AVIF and convert to JPG in bulk, letting you adjust quality and apply simple transformations. It is low-overhead and excellent for Windows-based admin tasks, though it is platform-specific and its interface is utilitarian compared with newer apps.
IrfanView is practical for fast local conversions on Windows.
Website: https://www.irfanview.com
7. ImageMagick
ImageMagick is powerful for command-line AVIF-to-JPG conversion, automation, and cross-platform scripting. It gives deep control over resizing, metadata handling, progressive JPEGs, and quality. Example single-file conversion that removes metadata and creates a progressive JPG:
magick input.avif -strip -interlace JPEG -quality 90 output.jpg
If you want to preserve metadata, omit -strip. For batch conversion, a simple shell loop handles many files:
for f in *.avif; do
  magick "$f" -quality 85 "${f%.avif}.jpg"
done
ImageMagick is ideal for developers and sysadmins who need repeatable, scriptable workflows. It requires proper codec support for AVIF, and it is less beginner-friendly than GUI tools.
Website: https://imagemagick.org
8. libavif
libavif provides low-level AVIF utilities, such as avifdec, useful when direct AVIF-to-JPG paths in other tools fail. A common approach is to decode AVIF to an intermediate format like PNG, then convert to JPEG, which helps isolate where problems occur—decoding, color profile handling, or JPEG encoding. For example:
avifdec input.avif intermediate.png
magick intermediate.png -quality 90 output.jpg
libavif is technical to set up but reliable for troubleshooting and building robust pipelines on systems where codec support is fragmented.
Website: https://github.com/AOMediaCodec/libavif
9. Sharp
Sharp is a high-performance Node.js library for programmatic AVIF-to-JPG conversion. It is ideal for upload pipelines, media APIs, and backend processing where images must be transformed on the fly. A straightforward example:
const sharp = require('sharp');

sharp('input.avif')
  .jpeg({ quality: 85, progressive: true })
  .toFile('output.jpg');
Sharp supports resizing, metadata options, and pipeline integration, making it a top choice for developer-driven automation. It requires developer setup and careful metadata configuration.
Website: https://sharp.pixelplumbing.com
10. Pillow with HEIF or AVIF support
For Python workflows, Pillow plus a HEIF/AVIF support layer (for example, pillow-heif) lets you open AVIF files and save JPEGs within scripts and data pipelines. A basic example:
from PIL import Image
import pillow_heif

pillow_heif.register_heif_opener()

img = Image.open("input.avif")
img = img.convert("RGB")
img.save("output.jpg", quality=85, progressive=True)
Converting to RGB matters because JPEG does not support the same transparency or color modes as AVIF. This approach is readable and fits well into Python-based automation, but AVIF support depends on installed libraries.
Website: https://python-pillow.org
Comparison: Which AVIF-to-JPG Method Is Best?
Choosing the right method comes down to four things: speed, control, privacy, and scale. Online tools are fast to start but weaker on privacy. Desktop apps are better for visual inspection. CLI tools are best for automation. Developer libraries are best when conversion must happen inside a product or workflow.
| Method | Best For | Privacy | Batch Capability | Quality Control | Technical Difficulty |
|---|---|---|---|---|---|
| Online converters | Quick one-off jobs | Low to medium | Medium | Basic | Low |
| Desktop editors | Manual professional work | High | Low to medium | High | Low to medium |
| Desktop batch tools | Repetitive local jobs | High | High | Medium to high | Low to medium |
| Command-line tools | Automation and scripting | High | High | High | Medium to high |
| Developer libraries | Apps and backend pipelines | High | Very high | Very high | High |
If you are a casual user, start with an online converter for non-sensitive files. If you are a photographer or designer, use Photoshop, GIMP, or Affinity-style tools so you can inspect the image before export. If you are processing lots of files, XnConvert, IrfanView, or ImageMagick will save serious time. If you are a developer, Sharp or a Python stack makes the most sense.
Optimizing JPG Outputs After Conversion
Once you convert AVIF to JPG, the job is not necessarily finished. The export settings you choose can have a major effect on both visual quality and file size. For web use, a JPEG quality setting of 75 to 85, paired with progressive JPEG and sRGB, is often the best balance.
Resizing before or during conversion also matters. If the AVIF source is 4000 pixels wide but your website only displays it at 1200 pixels, exporting a full-resolution JPG wastes bandwidth. Resize to the largest real display size you need, then export. This usually delivers better results than resizing later in a browser or CMS.
For additional savings, run the resulting JPG through optimizers such as mozjpeg, jpegtran, or jpegoptim to reduce file size further without an extra destructive edit cycle. Just avoid repeatedly opening and re-saving JPEGs across multiple apps, because each lossy export can introduce more artifacts.
Troubleshooting Common Issues
If your converted JPG looks blurry or shows banding in gradients, the most likely cause is an export quality setting that is too low. Increase quality, test a larger file, and compare side by side. If the image has subtle skies, shadows, or soft color transitions, JPEG compression artifacts become more obvious.
If orientation is wrong after conversion, the issue is usually EXIF handling. Some tools read orientation flags and silently rotate for display, while others ignore them. A safer workflow is to normalize orientation before export so the pixel data itself is correct, not just the metadata.
Color shifts are usually tied to profile conversion problems. If the AVIF was created with a wide-gamut profile and the export tool did a poor conversion, the JPG may appear flat or strange. Converting explicitly to sRGB during export usually fixes this for web and general-purpose usage.
If your system cannot open AVIF files at all, you may be missing codec support or using outdated software. Updating the app is often enough. If not, use a tool with built-in AVIF support or install the necessary libraries such as libavif or libheif depending on your platform and workflow.
Frequently Asked Questions
Is AVIF better than JPG?
In pure compression efficiency, AVIF is often better. It can produce smaller files at similar or better perceived quality. But JPG is still better for compatibility, which is why conversion remains common.
Will converting to JPG increase file size?
Often, yes. AVIF is usually more efficient than JPEG, so a high-quality JPG may end up larger. The exact result depends on image content, export quality, and whether you resize the image before conversion.
Can I convert back to AVIF without losing quality?
Not fully. Once you convert a compressed image to JPG and discard data during lossy encoding, that lost detail cannot be perfectly restored by converting back to AVIF. You can make a new AVIF file, but it will not recreate the original source.
Are there legal or licensing issues with AVIF?
For most users, no practical issue arises in normal use. AVIF is based on AV1 technology and is widely used as an open modern format. Businesses with unusual compliance or patent-review requirements should still verify policies internally, but ordinary image conversion workflows are generally straightforward.
11. Affinity Photo
Affinity Photo is a strong middle ground between high-end professional editing and a one-time purchase value. It suits freelancers, creative teams, and small businesses that want detailed control over image export without subscribing to Adobe. Its value for AVIF-to-JPG work is the ability to inspect, retouch, and color-manage before exporting a polished JPEG for client-facing assets.
Affinity Photo is a good choice when you need professional editing capabilities without a subscription model.
Website: https://affinity.serif.com
12. jpegoptim and mozjpeg
jpegoptim and mozjpeg are not AVIF converters, but they are valuable post-conversion tools for reducing final JPG file size and improving compression quality. They integrate well into build and deploy pipelines and are useful for performance-minded site owners and developers who care about image weight. Use them after converting to JPG (for example, after ImageMagick or Sharp exports) to squeeze more efficiency from the final images.
These tools are technical but effective complements to conversion workflows.
Website: https://mozilla.github.io/mozjpeg
Conclusion and Best-Practice Checklist
The best way to convert AVIF to JPG depends on what you are optimizing for. If you need speed and simplicity, an online converter is often enough. If you need control, use desktop software. If you need repeatability, scale, or integration, use ImageMagick, Sharp, or a Python-based approach. What matters most is not just getting a JPG, but getting the right JPG for the platform where it will actually be used.
Keep the original AVIF whenever possible. Export JPGs as derivatives, not replacements. Use sRGB for broad compatibility, start around quality 85 to 90 for general use, and review the result for color, sharpness, orientation, and file size before shipping it to a client, website, or workflow.
A simple checklist helps:
- Back up the original AVIF before converting.
- Check orientation and metadata before export.
- Use sRGB unless you have a specific color-managed workflow.
- Choose JPEG quality intentionally, usually 75 to 85 for web, 85 to 92 for higher fidelity.
- Resize before export if the final use does not need full resolution.
- Test the JPG in the actual app, browser, CMS, or print workflow where it will be used.
If you only need a quick result, start with CloudConvert or Convertio for non-sensitive files. If quality or privacy matters, use a desktop app. If conversion is part of your business process, move straight to ImageMagick, Sharp, or Pillow-based automation.